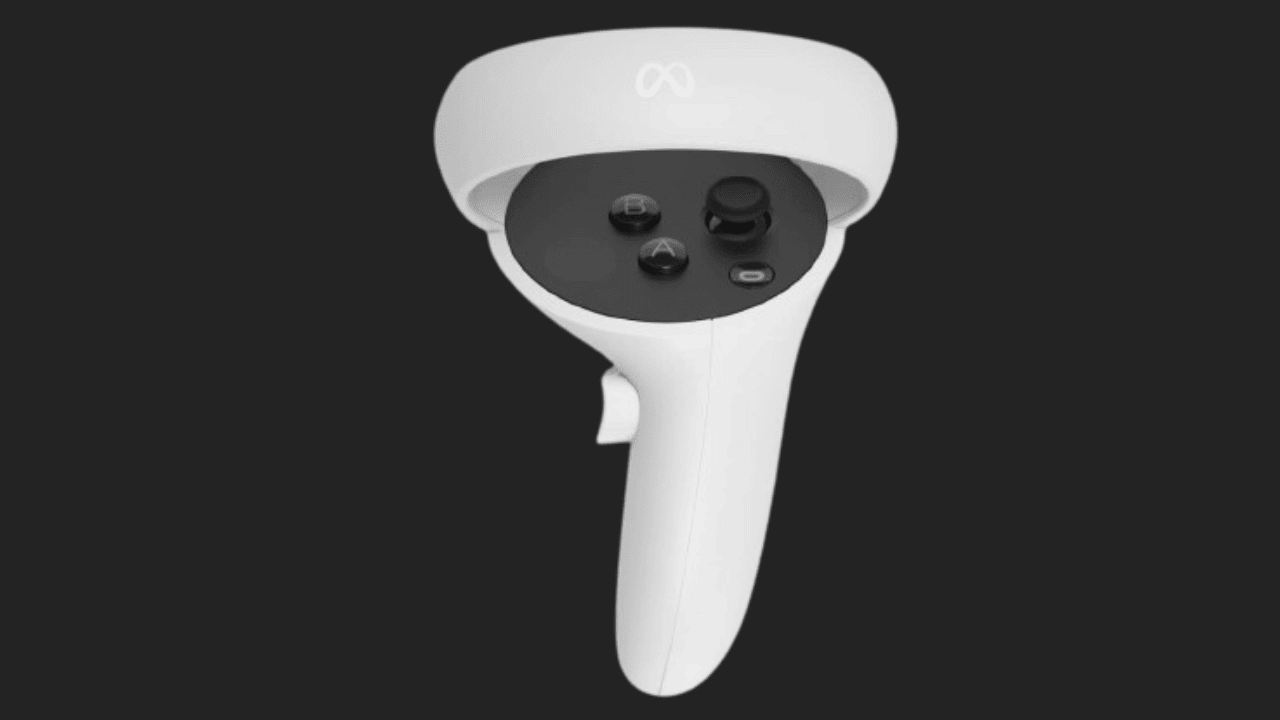
VR controllers are essential for an immersive gaming experience. If your controller’s batteries are old and weak, it might stop working. To keep your controller in top condition, replace the batteries regularly. It is essential if your controller has been damaged or disconnected or the buttons aren’t functioning completely. This article is all about how to replace the VR controller batteries.

Before replacing the controller’s battery, it is essential to get information about it. It can save you money and time. When you know how to replace the controller’s battery, it is easy to do it.
Gather the Necessary Tools and Materials
Before starting the replacement, you need to have some tools and materials. Here is the list of all the tools. Gather all these tools before beginning the replacement.
- First, you need a screwdriver to open the battery compartment.
- Use a good-quality battery for replacement.
Step-by-step Guide: How to Replace Batteries in Your VR Controller
- Firstly, you need to turn off the controller. Most VR controllers have a power button press and hold it to turn off the controller. Make sure all the lights on the controller are off. Disconnect the controller from all the connected cables.
- Now remove the battery cover. If you don’t know where is the battery compartment then look at the back of your controller. Usually, the battery compartment is marked with a small symbol.

- To open the battery compartment, take a small screwdriver. Insert the screwdriver into the screw head and rotate it counterclockwise to remove the screws. Keep rotating the screwdriver until the screws come out completely.

- Once the screws are removed, lift the battery cover off to access the batteries. Remove the batteries from the compartment with the help of your finger.

- If the battery is stuck in the compartment, apply a tap to the controller to loosen it.

- To place a new battery, look for the positive and negative signs inside the battery compartment. Align the positive (+) and negative (-) ends of the new battery according to the markings. Gently press the battery into place.

- After inserting the batteries, make sure they are fitted properly. Close the battery compartment. Turn on your controller to confirm the new batteries are working properly.
Also Read: Xbox Controller Micro USB Port Replacement
The Oculus Quest 2 controller battery cover stuck
When your controller battery cover is stuck so try to carefully press down on the battery cover. Sliding the covers according to the indicated direction arrows. If it is still stuck then open its edges by using the non-metal tool.
Why is my Quest 2 controller not moving?
Potential causes include a low or dead battery, Bluetooth connection issues, problems with the controller’s tracking rings, incorrect Guardian boundary setup, or a controller malfunction. Check these factors before considering a hardware issue.
How to charge Oculus hands?
The AA batteries use in the Oculus controller which we cannot charge directly. It requires rechargeable AA batteries. If you want to charge it, you have to take rechargeable AA batteries. Every time a new battery is needed.
Oculus Quest 2 controller blinking 3 times
When the controller is completely dead and needs a charge, it starts billing. If your controller is blinking three or more times it needs power. If your VR controller not working, charging the battery will solve your problem.
Final Thoughts
Follow the above step-by-step instructions to Replace Batteries in Your VR Controller. Here are some tips to maintain the controller battery. If you want to increase the battery lifespan, keep in mind these tips. Do not use the controller while charging the battery. Try to remove the battery from the controller when you are not using it. If the battery is not charged overnight, it may damage the battery.


I was able to find good advice from your articles.
An impressive share! I have just forwarded this onto a coworker who has been conducting a little homework on this. And he in fact ordered me dinner because I stumbled upon it for him… lol. So let me reword this…. Thank YOU for the meal!! But yeah, thanx for spending time to discuss this matter here on your internet site.
I really love your blog.. Very nice colors & theme. Did you develop this site yourself? Please reply back as I’m planning to create my own website and would like to know where you got this from or what the theme is named. Many thanks!
Good write-up. I certainly love this website. Thanks!
That is a very good tip especially to those fresh to the blogosphere. Brief but very precise info… Appreciate your sharing this one. A must read article!
Each day new items come into the shop’s inventory, which makes this an excellent destination for adventurous shoppers searching for top quality items and rock backside prices.
I went over this site and I think you have a lot of great information, bookmarked (:.
The wireless joystick controller operates ASIMO’s movements the same way you would operate a remote-control car.
Absolutely composed written content , thanks for information .
I enjoy reading through an article that will make men and women think. Also, many thanks for permitting me to comment.
Aw, this was an extremely good post. Spending some time and actual effort to create a top notch article… but what can I say… I put things off a whole lot and never seem to get nearly anything done.
Hey there! I simply would like to give you a big thumbs up for your great info you’ve got right here on this post. I am returning to your website for more soon.
Way cool! Some extremely valid points! I appreciate you penning this write-up plus the rest of the site is also very good.