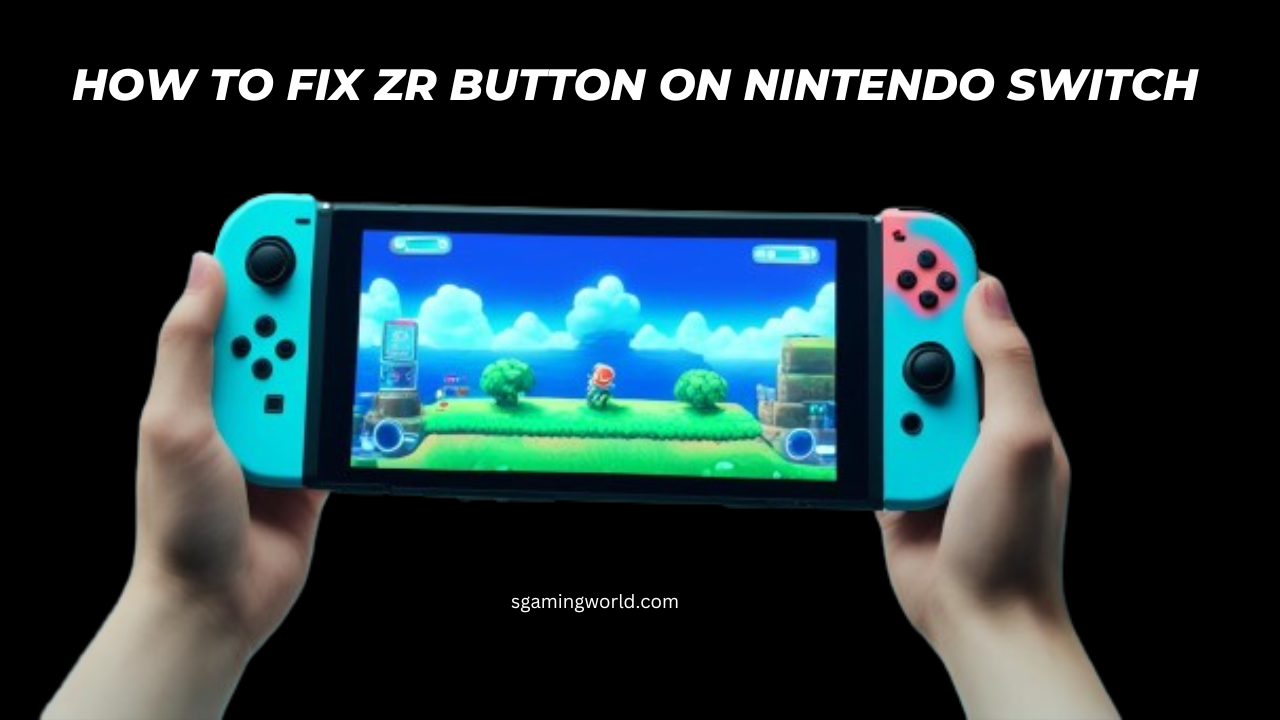
Each button on the Nintendo Switch performs a specific function while playing games. If even one of these buttons gets jammed, our gameplay is completely ruined. We know it’s very irritating but you can fix the ZR button on Nintendo Switch quickly.ZR and ZL buttons are on the right and left sides of the Nintendo Switch Controller. They get jammed due to excessive use during games.
We’ll cover the steps to make your controller work like new again. Whether your ZR button is not working, stuck, or not right, we’ve got you covered.
Identifying the ZR Button Issue on Your Nintendo Switch: Fix
Before fixing the switch ZR button, it is important to know what is ZR button on the switch is and the common symptoms of jamming.
What is the ZR Button on Switch?

The ZR button is key to your gaming fun on the Nintendo Switch. It lets you do various actions and commands in games. If you win the game, it’s essential to fix the ZR button.
Common Symptoms of a Faulty ZR Button
If your Nintendo Switch’s ZR button is not working or jamming, you might see these signs:
- The button is completely unresponsive.
- The button is stuck or feels “sticky,” making it hard to press.
- The button is registering wrong inputs, like the wrong action or function.
- The button works sometimes, but not always, leading to inconsistent performance.
These problems with the ZR button are frustrating, especially during long gaming sessions.
Figuring out the exact issue is the first step you can take to fix the ZR button.
Troubleshooting Steps for a Non-Responsive ZR Button
If your Nintendo Switch’s not working properly, you can take these steps. By following these steps, you will know how you can diagnose your switch, clean the button, and check for damage.

Start by pressing the ZR button a few times. This might help fix the connection and make it work again. If your button is not fixed by this step, follow the next step.
The next step you can take is to try to clean the ZR button. To clean the ZR button, take a soft dry, and clean cloth. Wipe away dust or debris that could be causing problems. Do not use any liquid or wet material to clean, it may damage the button.
If the cleaning does not fix the problem, there might be a Physical problem with the button. Check Your controller for damaged, crackers, bent pins, and loose connections.
Remember, fixing the ZR button on the Nintendo Switch and Switch Pro controller buttons not working issues is common. By trying these steps, you can fix the ZR button problem and enjoy gaming again.
How to fix the ZR button on the Nintendo Switch
If you find any damage, don’t need to worry. It’s a common issue that can usually be fixed with some troubleshooting and basic tools.
Tools and Materials Needed for ZR Button Repair
To repair the ZR button on your Switch Pro Controller, you’ll need certain tools and materials. Here’s what you’ll need:
| Tool/Material | Purpose |
| Small Screwdriver Set | To disassemble the controller and access the internal components |
| Tweezers | For delicate handling of small parts during the repair process |
| ‘’Isopropyl Alcohol’’ | To clean the button |
| Compressed Air | To remove any debris or dust from the controller’s interior |
| Replacement ZR Button (if necessary) | To replace a faulty or damaged ZR button |
With these tools and materials ready, you’re set to fix your Nintendo Switch’s ZR button. Just follow the step-by-step guide, and you’ll have your controller working great again soon.
Preventive Measures to Avoid Future ZR Button Problems
To keep your Nintendo Switch’s ZR button working well, handle and store it right. Follow these easy steps to prevent problems and keep gaming smooth.
- Be gentle when using your Nintendo Switch controllers. Don’t press the ZR button too hard or click it a lot. This can damage the inside and wear it out fast. Use a soft touch when you press the ZR button.
- Also, clean your controllers often with a soft cloth. This stops dirt, dust, and grime from building up. It keeps the button working right.
- Put your Nintendo Switch controllers in a cool and dry place. Keep them away from sunlight. Don’t leave them where it’s very humid or wet, as this can damage them and cause ZR button problems.
- If you need to replace the ZR button, make sure to use the right parts from the manufacturer. This ensures it fits and works well, reducing the chance of future issues.
Also Read: Xbox One X Turns On Then Off Instantly
Conclusion
This guide has given you the steps and tips to fix the ZR button on your Nintendo Switch. If your ZR button is unresponsive, stuck, or not working right, these solutions can help. They will make sure your controller works well again and you can enjoy gaming without trouble.
By using the steps to identify, troubleshoot, and repair the ZR button, you can fix this common issue. You can take care of your console yourself and keep it running smoothly. So, get back to gaming with confidence and joy!
FAQs
Nintendo Switch L and R buttons not working
If the L and R buttons on your Nintendo Switch controller are not working, try these simple and easy steps:
- Firstly, please try to clean the button.
- Restart your loving controller
- Update the latest software
- Try to reset and reconnect the joy-con
How To Fix Pro Controller Drift Without Taking it Apart
To fix the Pro Controller drift without taking it apart, first clean the joystick. Use a small brush or compressed air to remove any dirt or debris from the controller. Next, please try to calibrate the controller through your console’s settings. Check the console settings to update firmware.


You are so cool! I don’t suppose I’ve read a single thing like that before. So great to discover someone with some unique thoughts on this subject matter. Really.. many thanks for starting this up. This web site is one thing that’s needed on the web, someone with a bit of originality.
I used to be able to find good advice from your blog articles.
Greetings! Very useful advice in this particular article! It’s the little changes that will make the largest changes. Thanks for sharing!
I was able to find good information from your blog posts.
You’re so interesting! I do not suppose I have read through something like that before. So great to find another person with unique thoughts on this subject matter. Seriously.. thanks for starting this up. This site is something that is required on the web, someone with some originality.
I truly love your blog.. Pleasant colors & theme. Did you develop this amazing site yourself? Please reply back as I’m hoping to create my own site and would like to learn where you got this from or just what the theme is called. Thank you.
When I initially left a comment I appear to have clicked the -Notify me when new comments are added- checkbox and from now on whenever a comment is added I recieve four emails with the exact same comment. There has to be an easy method you can remove me from that service? Thanks a lot.
There’s definately a lot to know about this subject. I really like all the points you’ve made.
I’m amazed, I must say. Seldom do I encounter a blog that’s both equally educative and interesting, and without a doubt, you’ve hit the nail on the head. The issue is something which not enough folks are speaking intelligently about. I am very happy that I found this during my search for something concerning this.
I’m impressed, I have to admit. Seldom do I come across a blog that’s both educative and amusing, and without a doubt, you’ve hit the nail on the head. The issue is something too few men and women are speaking intelligently about. Now i’m very happy that I found this during my search for something concerning this.
Greetings! Very helpful advice in this particular article! It is the little changes that produce the most important changes. Thanks for sharing!
It’s difficult to find well-informed people in this particular topic, but you seem like you know what you’re talking about! Thanks
You’re so interesting! I do not think I have read through anything like this before. So great to discover someone with some original thoughts on this subject matter. Really.. thanks for starting this up. This site is something that is needed on the web, someone with some originality.
Good article. I’m going through some of these issues as well..
This is a topic that’s near to my heart… Take care! Exactly where are your contact details though?
Hello there! I just wish to give you a huge thumbs up for the great info you have here on this post. I will be returning to your website for more soon.
Very nice post. I definitely love this website. Keep it up!
After study some of the content in your web site now, and i also really much like your technique of blogging. I bookmarked it to my bookmark web site list and will also be checking back soon. Pls take a look at my internet site as well and told me what you believe.
I have not checked in here for some time because I thought it was getting boring, but the last few posts are good quality so I guess I will add you back to my everyday bloglist. You deserve it my friend 🙂
He also created rough clay models of some of the buildings to set the scene.
Every round of Overcooked is hectic and troublesome, requiring communication and teamwork as a way to nail a three star rating on every degree.
Very good blog post. I definitely appreciate this website. Stick with it!
bookmarked!!, I like your web site.
Good post. I absolutely love this site. Stick with it!