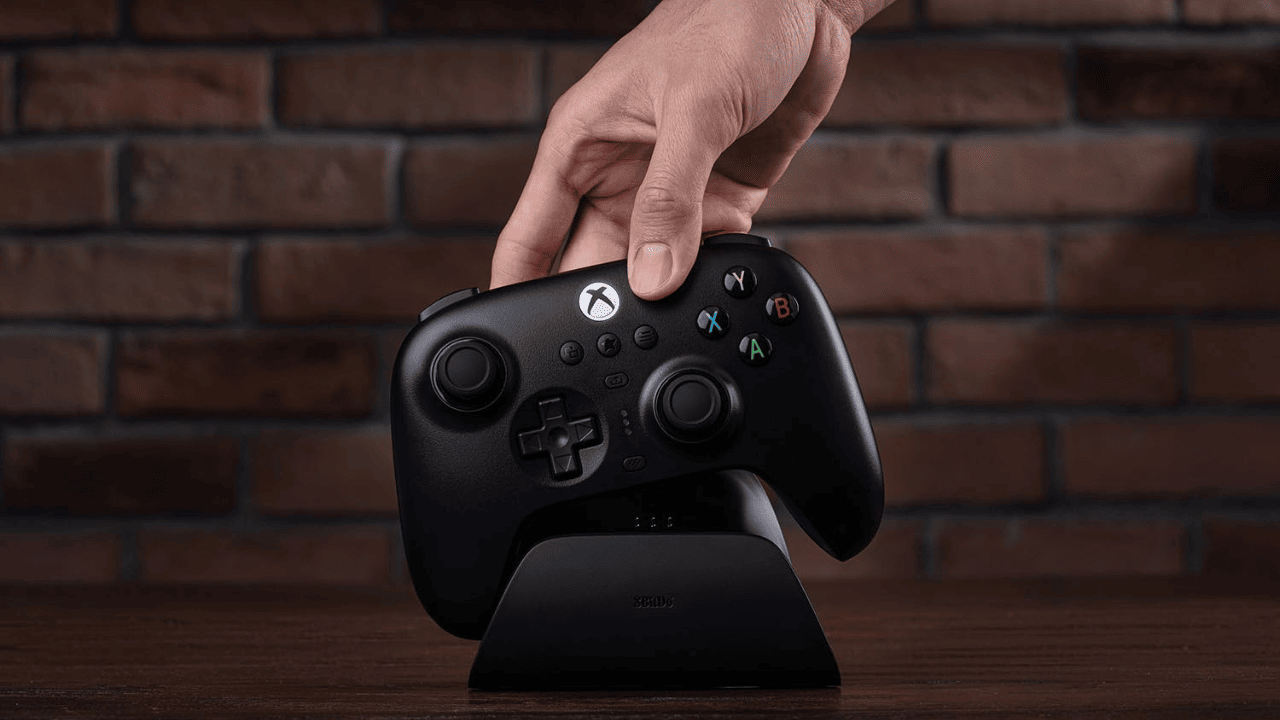
When the stick on your game controller starts moving independently, even when you’re not touching it. It’s called joystick drift. This makes game cursors move by themselves while playing games. The joystick starts drifting due to common reasons dirt, design issues, and damage to the inner side of the joystick. You must fix it if you recently bought a new joystick and it has started drifting. Fixing the drift is crucial because without it you cannot play a game. I know it’s your first time to fix the drift, so stop worrying about it. In this article I will guide you step by step on how to fix Xbox One joystick drift easily.
Several common issues can cause Xbox joystick drift
- Wear and Tear: The regular use of a joystick can cause wear and tear inside a joystick. This makes joysticks move by themselves.
- Dirt and Debris. Sometimes, dust and small particles can accumulate inside the joystick due to dirty weather. This also causes drifting.
- Worn-out Thumbstick Pad: The thumbstick pad can become worn out, making it less responsive and more likely to drift.
- Worn-out Springs: The loose spring inside the controller also led to unintentional movements.
- Bad Thumbstick Unit: Sometimes the thumbstick unit can be faulty or damaged, which can cause drifting issues.
Troubleshooting steps: To Fix the Xbox One Joystick Drift
Here are some methods to fix your Xbox joystick drift. Before following any method make sure your Xbox One controller is turned off. It can prevent you from any damageHandle every component carefully to avoid causing further damage.

The Tools and Materials you will need before fixing your joystick.
- Rubbing alcohol
- Cotton swabs
- Screwdriver
- Compressed air
- Replacement thumbstick pads (if needed)
- Clean, soft cloth
Step:1 Try cleaning the thumbsticks with alcohol
Take a small tiny cotton swab and dip it in rubbing alcohol.
Gently rub the damp cotton swab around the base and edges of the joystick thumbsticks.
This helps remove dirt and other residues that may affect their responsiveness.
Allow the thumbsticks to air dry completely before using the controller again.
Step:2 Recalibrating The Controller
Recalibrating the controller involves adjusting its settings to ensure accurate performance:
Access Settings: Go to the Xbox One settings menu.
Select Devices: Choose “Devices & accessories.”
Choose Controller: Find your controller and select “Configure.”
Calibrate: After this follow on-screen instructions to re-calibrate the controller. This process helps fix many issues in the joystick like joystick drift.
Save Changes: Once recalibration is complete, save your settings.
Step:3 Adjusting The Deadzone
The small area around the joystick’s center position where the controller does not register any movement, is known as DEADZONE. This helps to ignore slight movements or unintentional drifts.

How Adjusting the Deadzone Can Help Mitigate Joystick Drift: Increasing the dead zone can reduce sensitivity around the neutral position of the joystick, helping to ignore minor, unintended movements that cause drift.
Here is a step-by-step guide on how to adjust dead zone
- Open the settings menu of the game.
- Find the section for the controller or input settings.
- From the left and right joystick look for the option to adjust the dead zone
- Slightly increased the dead zone value. The test was a joystick response. Continue adjusting until The drift is minimized.
Step:4 Replacing The Thumbstick Module
Before replacing the thumbstick module you will need some materials:
- T8 security Torx screwdriver
- Replacement thumbstick module
- Soldering kit (if needed)
1. Disassemble the Controller:
- Remove the battery and battery cover
- To remove the secrets from the back of the Xbox One controller, use the T8 Security Torex screwdriver.
- Carefully open the controller casing.
2. Remove the Old Thumbstick Module:
- Locate the thumbstick module inside the controller.
- If the module is soldered, use a soldering kit to carefully desolder the connections.
- Remove the old module from the controller.
3. Install the New Thumbstick Module:
- Place the new module.
- Solder the connections if necessary.
- Ensure the module is securely in place.
4. Reassemble the Controller:
- Carefully reassemble the controller casing.
- Use the T8 security Torx screwdriver to secure the screws.
- Replace the battery cover and batteries.
5. Test the Controller:
- Power on the controller and test the joystick to ensure the drift issue is resolved.
Step:5 Restarting the controller might fix it
Hold the Xbox button for about 6 seconds to turn it off.
Then turn on the controller again press the Xbox button and test the joystick to see if the issue persists.
The process of restarting the controller can reset the internal software. So try to restart the controller because it might fix the issue
Step:5 Fix drift by contacting Microsoft
- To contact Microsoft Support, first Go to the official Microsoft Support Page for Xbox.
- Go to the section for Xbox and choose the option on “Device and Networking”
- Select the Xbox One Wireless Controller and choose “Joystick Drift “ from the issues list.
- Follow on-screen instructions then contact Microsoft support.


