To fix the Anker Mouse not working, first check your battery level. After checking the battery level, verify that the USB receiver and plugin are properly plugged into the port. Also, you can try updating the mouse driver to the latest version. Inspect the mouse for physical damage and test it on a different computer. If you have tried all these and your mouse is still not working, you must thoroughly clean the dust from your mouse.
This is a small sample of the methods you can apply to fix your mouse. The detailed article provides more information about fixing the mouse. If you want specific information about your mouse, then read this article until the end.
Is Your Anker Mouse Not Connecting or Responding?
Before proceeding with any risky solution, make sure that the mouse is turned on and that it has fresh batteries. According to Anker Support, a dead battery can cause connectivity Issues. In the next step, verify that the USB receiver is securely plugged into your computer.
Users in the Anker Community forum suggest restarting your computer to resolve persistent connectivity issues.
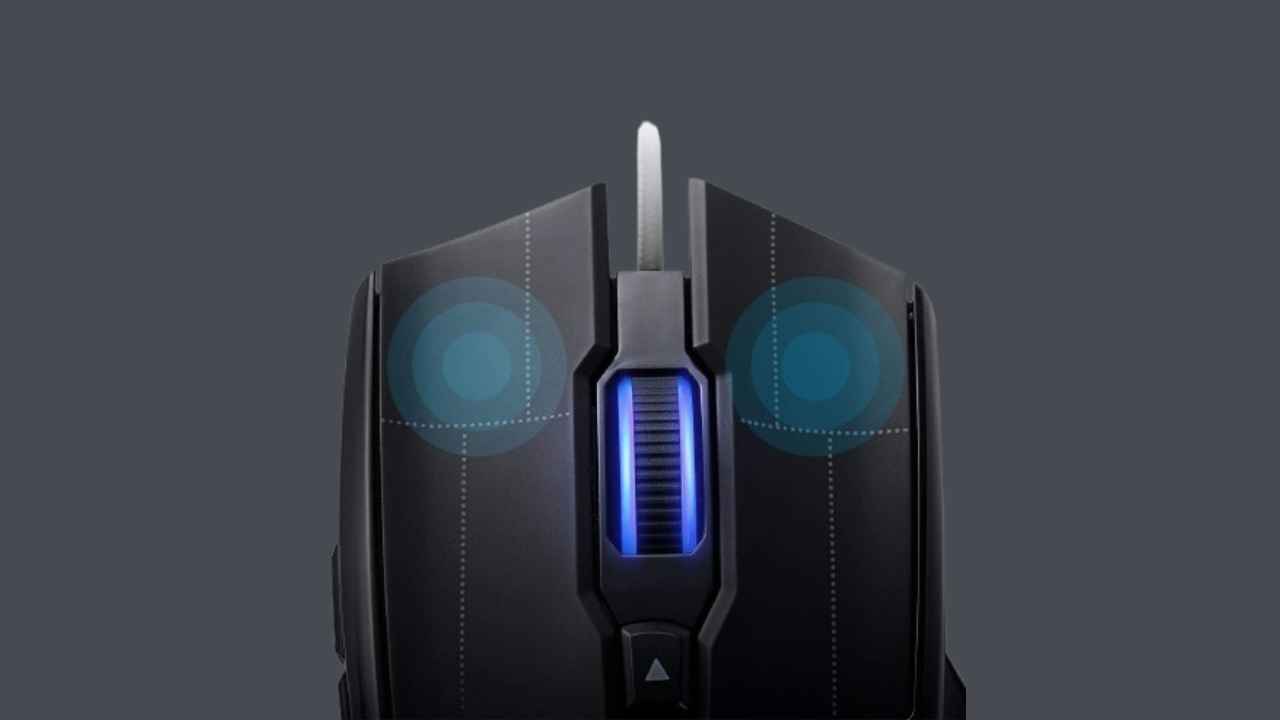
1-Clean and Inspect
Clean the mouse bottom with a clean cloth and check for any visible damage. If the scroll wheel and buttons of the mouse are not working then clean them. If cleaning does not solve the problem then replace them. Replacing the buttons will make your mouse even better.
2-Check the Batteries in Your Anker Mouse
When your Anker mouse stops working, the first and most common culprit is often a dead battery. According to the Anker community forum, many users report their mouse freezing or becoming unresponsive after extended use, which is typically a sign of low battery power.
3-Verify Battery Status
Start by checking if your mouse’s LED indicator is illuminated. As noted in troubleshooting guides, a functioning Anker wireless mouse should have a visible red light on top when powered on. If this light is dim or not visible at all, it’s time to replace the batteries.
4-Replace Batteries
To replace the batteries:
- Insert fresh batteries, ensuring correct polarity.
- Close the compartment securely.
After replacing the batteries, test your mouse to see if it’s working properly. If issues persist, you may need to explore other troubleshooting steps or contact Anker support for further assistance.
5-Try Re-Pairing the Anker Mouse
This simple process can often restore connectivity and resolve issues caused by random re-assignments or interference.
- Remove the batteries from the mouse for at least 5 to 10 seconds.
- Reinsert the batteries.
- Restart your computer to reset the connection.
This process helps reset the mouse’s connection and allows it to re-pair with the correct receiver.
Sometimes, the receiver itself may be faulty and may need replacement. If problems continue, check for physical damage to the buttons, scroll wheel, or sensor.
6-Reset Your Anker Mouse
A simple reset and factory hard reset can often resolve the issue. This process will clear any type of temporary glitches that may be affecting your device’s performance.

7-Power Cycle the Mouse
Turn off your gaming Anker mouse and remove its batteries. After removing the batteries, wait for 20 to 30 seconds, then carefully reinsert them and turn the mouse back on. This quick and effective power cycle can often resolve minor connectivity issues.
8-Update Firmware and Drivers
Please try to update your mouse firmware and drivers. Check Anker’s website for any available updates. Additionally, update your computer’s mouse drivers to ensure compatibility. These updates can often resolve freezing or unresponsiveness issues.
Try to Contact Anker Support for Troubleshooting Help
When all else fails, reaching out to Anker’s dedicated support team can be your best bet for resolving persistent mouse issues. Anker offers multiple channels to connect with their experts, ensuring you get the needed help.
Anker Mouse Support Services
• Email Support: For non-urgent inquiries, email support@anker.com with a detailed description of the mouse problem. Include device model, troubleshooting steps, and error messages.
• Live Chat: Offers real-time help, ideal for complex issues requiring step-by-step guidance.
Before contacting Anker support Remember to have your mouse’s model number and purchase information handy.
You may also like: Troubleshoot gaming monitor sound is not working.
Conclusion
It’s very simple to Troubleshoot an Anker mouse that’s not working. It can be frustrating, but with the right techniques, you can fix the issue quickly. Always start with the basics: check the battery and connection and verify that your computer recognizes the device. If these steps don’t work, try updating or reinstalling drivers, adjusting mouse settings, or using the mouse on a different surface.
For persistent problems, don’t hesitate to contact Anker’s customer support. They can provide tailored solutions or guide you through advanced troubleshooting steps.
Why is my mouse not detected?
To troubleshoot Anker mouse issues, ensure the mouse is turned on and has a new battery. Securely plug the USB receiver into your computer. If the basics aren’t working, restart your computer, clean the mouse’s optical sensor and USB connector, test the mouse on another device, and update or reinstall mouse drivers.
How do I reboot a mouse?
Check the battery, connection, port, and physical damage to fix a mouse issue. If none of these steps work, consider replacing the mouse. However, If the issue persists, consider replacing the mouse. If the problem is not solved, contact a professional for further assistance.