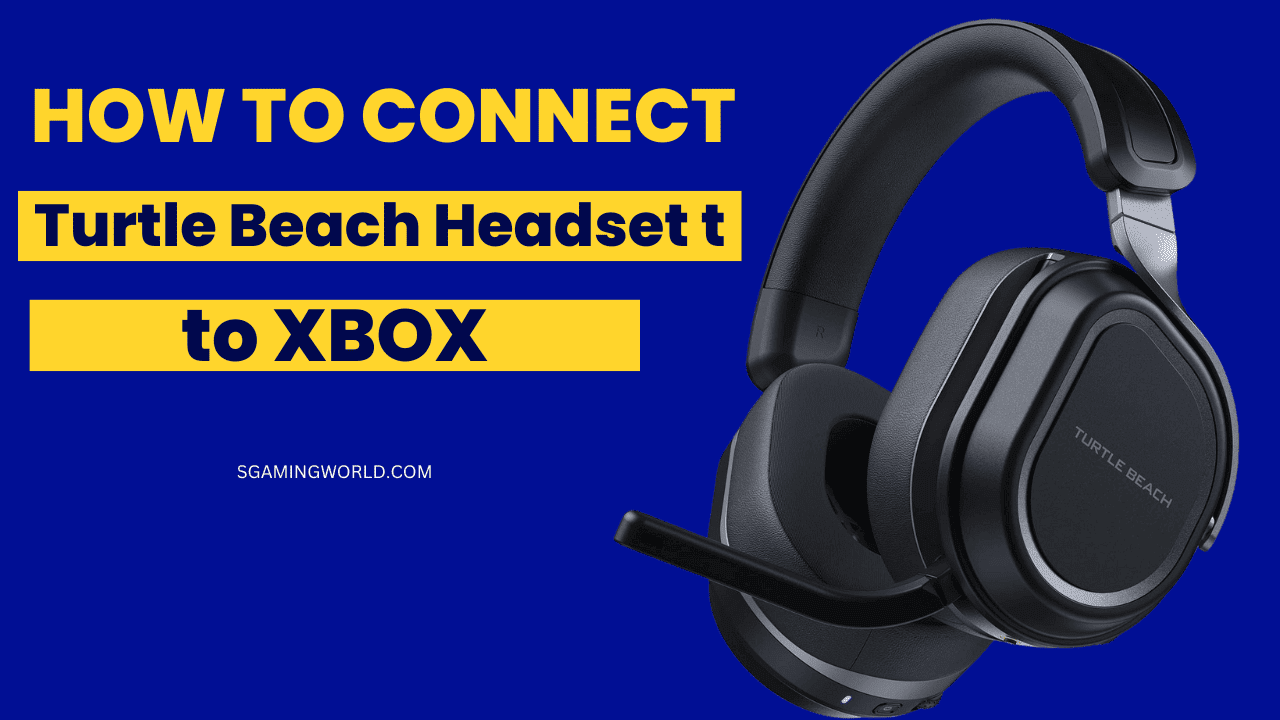
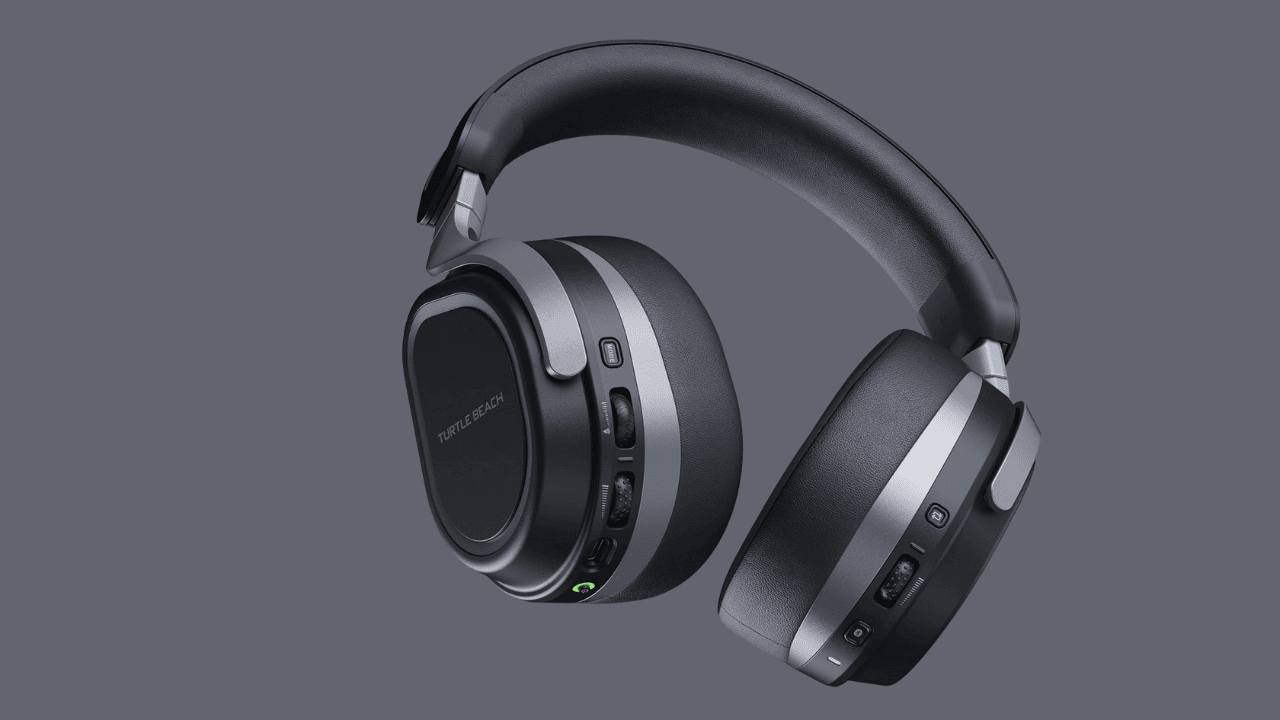
The Turtle Beach headset is popular among gamers due to its high-quality sound and comfortable design. It ensures optimal gaming experiences, whether with competitors or alone. To connect the Turtle Beach headset to your Xbox, ensure the model is compatible with your controls. The Turtle Beach headset is designed specifically for Xbox gaming, with models like Stealth 600 Gen2, Stealth 700 Gen 2, and Recon 200. To connect your Turtle Beach headset to your Xbox, follow these steps.
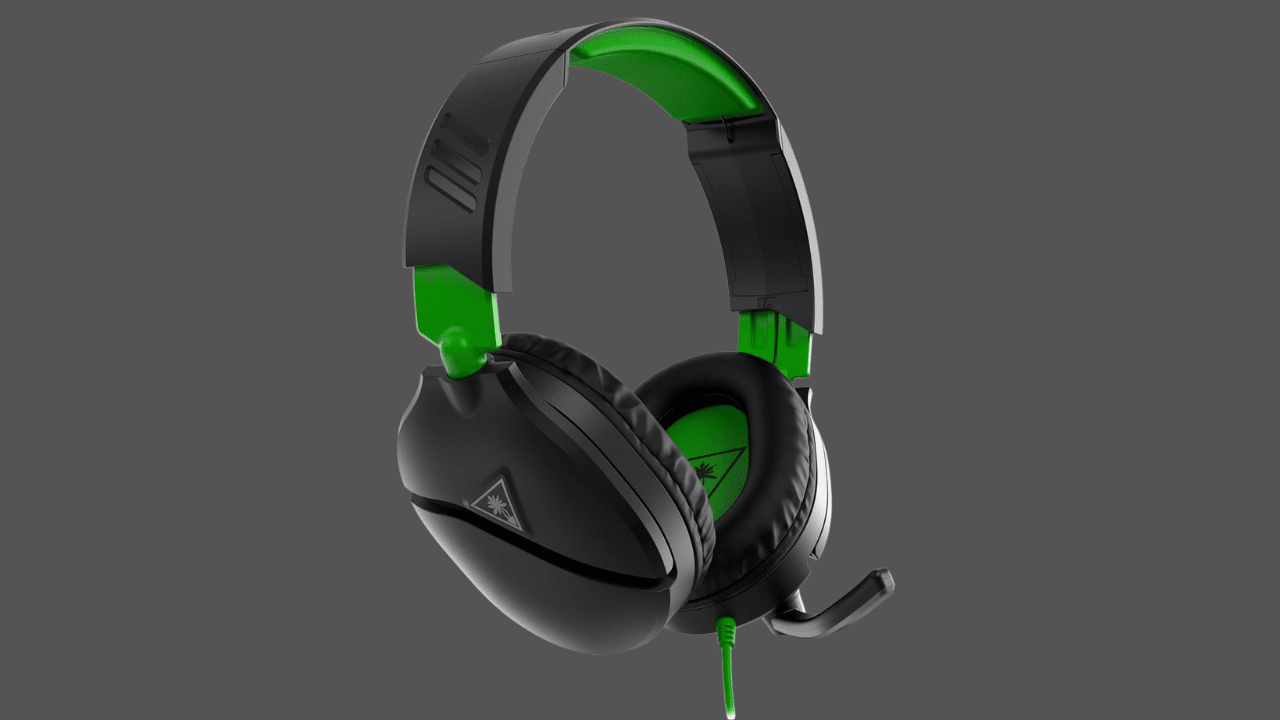
You’ll need a few essential items to connect the Turtle Beach headset to your Xbox. First, you must have a Turtle Beach headset and an Xbox console. If you use a wired headset, you will need a 3.5mm audio cable must be needed.
For wireless headsets, your headset must be fully charged and the battery must be fresh. Also, keep a transmitter and adapter according to your headset model. Having all the necessary equipment ready will make the setup process smooth and straightforward.
Wired Connection Setup
Follow the steps below to connect your Wired handset to your Xbox.
- Attach your 3.5mm audio cable to your Turtle Beach headset and plug it into In Audio Jack on the Bottom of Your Xbox Controller.
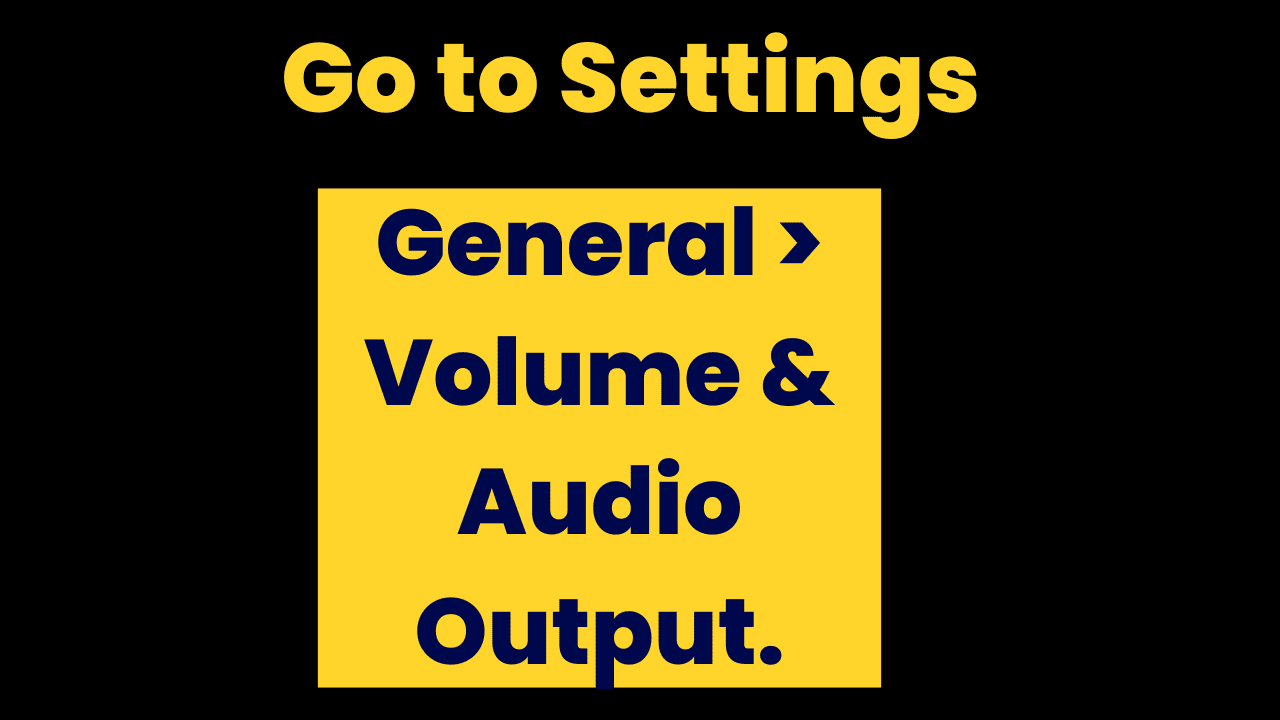
- Adjust Xbox Settings: Turn on your Xbox console and controller. Navigate to the Xbox home screen and press the Xbox button on your controller to open the guidelines. Now when you open the guide Go to Settings > General > Volume & Audio Output.
- Optimize Audio Settings: Under the Headset Audio section, make sure the following settings are adjusted:
- Headset Volume: Set to your preferred level.
- Headset Chat Mixer: Balance the game and chat audio according to your needs.
- Mic Monitoring: Adjust to hear your voice at a comfortable level in the headset.
4. Test the Connection: Start a game or chat with friends to test the audio. While testing, make sure that you can hear both player list, game, and chat audio. If any adjustment is necessary in your settings then do it only after making sure.
Following these steps will give you the best sound experience with your Turtle Beach headset on your Xbox.
Wireless Connection Setup
Follow these steps to connect your wireless Turtle Beach headset:
- Power On the Headset: Press the power button to turn on the headset and make sure that your headset’s battery is fully charged.
- Prepare the Xbox Console: Before connecting the headset, check its software. If the software is going to be updated, then update it.
- Pair the Headset:
- For headsets using a USB transmitter: Have it transmitted in a USB port on your Xbox control. When you plug in the USB port then the headset automatically prepares mode when it turns on you can see the instructions on the screen so follow these instructions.
- For Bluetooth-compatible headsets: Put your headset into pairing mode by pressing and holding the Bluetooth button. On your Xbox, go to Settings > Devices & Connections > Bluetooth. Select your headset from the list of available devices and follow any additional instructions.
4. Confirm Connection: Once paired, test the headset by playing a game or chatting with friends. Ensure that both game audio and chat are coming through clearly.
5. Adjusting Audio Settings
Adjusting the sound settings on your Turtle Beach headset for the best sound quality. Here’s how:
Adjusting Xbox Audio Settings
- Headset Volume: Adjust the volume slider to your preferred level. This controls the overall sound level in your headset.
- Headset Chat Mixer: This setting allows you to balance the audio between game sounds and chat. You can choose from options like Do Nothing, Balance, or More Game to adjust how much of each audio type you hear. Use the Balance setting to find a comfortable mix between game and chat audio.
- Mic Monitoring: This setting lets you hear your voice through the headset, which can help prevent shouting. Adjust it to a level where you can hear yourself without being too distracted.
- Test the Settings: Play a game or start a chat to test the audio balance. Make any further adjustments if needed to get the right mix of game and chat sounds.
Related: Hyperx Cloud headset stopped working
Balancing Game and Chat Audio on the Turtle Beach Headset
- Use the On-Headset Controls: Many Turtle Beach headsets have built-in controls for adjusting game and chat audio. Look for a dial or buttons on the headset itself, usually labeled as Game and Chat. Turn the dials or press the buttons to adjust the balance between game audio and chat audio to your preference.
- Check the Turtle Beach App: If your headset is compatible with the Turtle Beach Audio Hub app or another dedicated app, use it to fine-tune audio settings. The app may provide additional options for adjusting the balance and sound profiles.
- Consult the Manual: For specific instructions on adjusting game and chat audio for your headset model, refer to the user manual or Turtle Beach’s support website.
By carefully adjusting these settings, you’ll ensure a more immersive and enjoyable gaming experience with clear, balanced audio.
Common Connection Issues and Solutions
Here are some common connection issues with Turtle Beach headsets and how to resolve them:
-
No Sound
To fix a headset issue, ensure the headset is properly connected to the Xbox controller or USB transmitter, ensure the headset volume is turned up, and check the Xbox audio settings. Restart both consoles and headsets to refresh the connection and ensure proper audio output.
-
Poor Audio Quality
To fix audio issues with your Xbox headset, follow these steps:
1. Adjust the headset’s audio settings in Settings > General > Volume & Audio Output.
2. Check for interference with the wireless signal, if using a wireless headset.
3. Check if the headset has a firmware update available, as it can fix audio issues and improve performance.
-
Disconnection Issues
To fix connectivity issues with wireless headsets, follow these steps: re-pairing the headset with your Xbox, checking the battery levels, and reset the headset according to the manufacturer’s instructions. Restarting the headset can resolve issues caused by corrupted settings or software glitches while checking the battery levels is crucial for proper connectivity.
4. Mic Not Working
To fix a headset issue, ensure the microphone is not muted and that the Xbox settings are enabled and set as the default input device. Inspect the microphone for damage and ensure it is properly connected and secure. If the mic is detachable, try reattaching it securely.
By following these troubleshooting steps, you can resolve common issues with your Turtle Beach headset and enjoy uninterrupted gaming sessions.
How to Maintaining Your Headset
- Clean Regularly: Gently wipe down the ear cushions and headband with a soft, dry cloth to remove dust and sweat. For deeper cleaning, use a slightly damp cloth and avoid getting moisture into the electronic parts.
- Avoid Cable Strain: Be cautious not to pull or twist the headset cables. When not in use, coil the cables loosely and avoid sharp bends to prevent fraying.
- Check for Firmware Updates: Regularly check for firmware updates for your headset, as these can provide improvements and fix potential issues.
- Keep the Headset Dry: If it gets wet, let it dry completely before using it again.
- Handle with Care: Treat your headset gently. Avoid dropping or knocking it against hard surfaces to prevent physical damage.
- Replace Worn Parts: If the ear cushions or headband become worn out, consider replacing them. Many Turtle Beach headsets have replaceable parts available.
By following these tips, you can keep your Turtle Beach headset in excellent condition and ensure long-lasting performance for your gaming sessions.
Conclusion
In this blog post, we’ve covered how to connect your Turtle Beach headset to your Xbox, whether wired or wireless. We walked through checking compatibility, gathering necessary equipment, setting up both wired and wireless connections, adjusting audio settings for optimal sound quality, and troubleshooting common issues like chat mixer grayed out.
Following these steps ensures a smooth and enjoyable gaming experience with clear audio and minimal interruptions. If you have any questions or run into any problems, feel free to reach out and share your experiences. For more gaming tips and guides, explore our other related posts and keep your gaming setup in top shape.
Also read: Fixing a Broken Headphone Jack