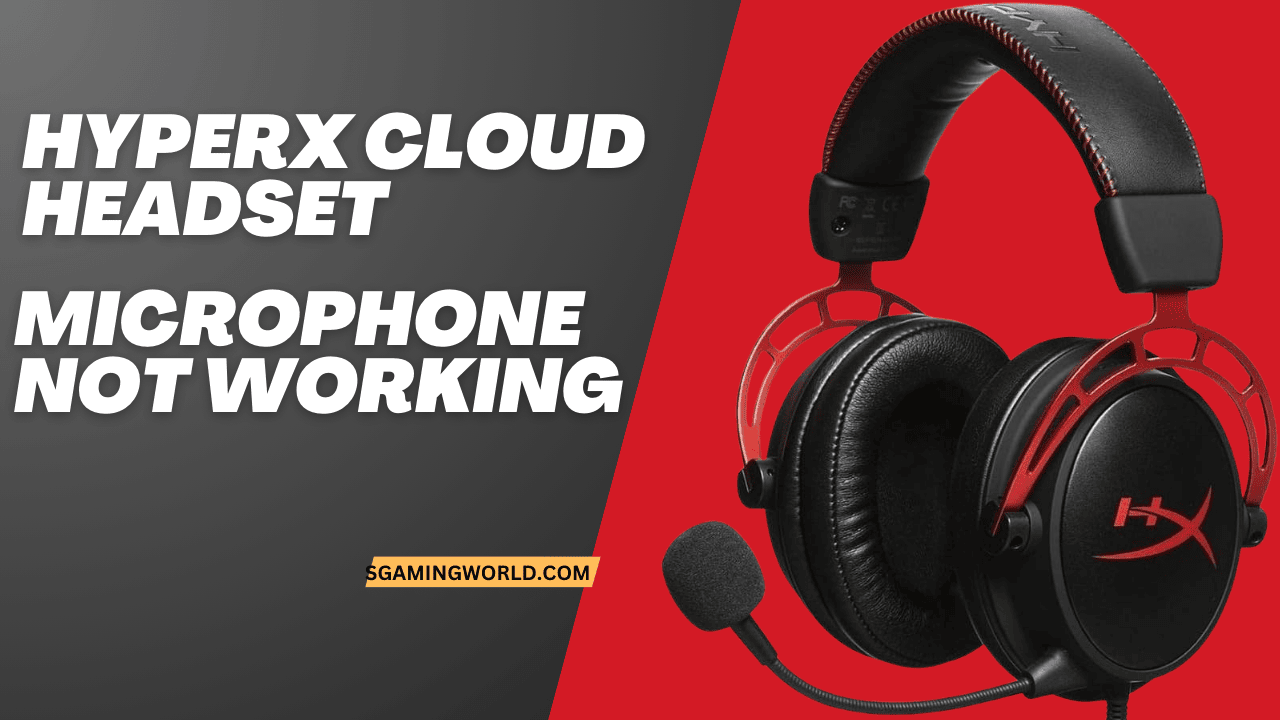
Many people have faced the problem hyperx cloud headset microphone not working. It is a popular gaming headset among gamers due to its sleek design. But, sometimes, the microphone has a low volume or picks up annoying static noise. After reading this article, you can fix the problem with your headphones.
The hyperx headset mic not working
If you’re using a HyperX Cloud headset and hyperx microphone quiet, it can be annoying, especially if you’re trying to talk to friends or play games
Check Physical Connections
Plugged in the Hyper Cloud headset correctly. Double-check that the headset cable is securely connected to the computer. The computer end should be in the correct port, usually the green or pink one labeled ‘mic’.
Check the label thoroughly to ensure that there are no cuts, bends, or fraying in it. If the headphone jack of your headset is broken, try using a different USB port. Sometimes the problem is set due to just always connection so double check everything for moving to another solution.
Adjust Audio Settings
Let’s make sure your computer is set up to hear you loud and clear!
- Find your sound settings: Look for a speaker icon on your computer screen. It’s usually at the bottom right corner. Click on it.
- Check your microphone: Make sure your HyperX Cloud headset is selected as the default microphone. This means your computer will use it to pick up your voice.
- Turn up the volume: Slide the microphone volume slider to a higher level.
You can test your audio settings by recording a quick voice message while talking to someone online to see if it’s working better.
If your headset is still not connecting to your PC then you can move toward another solution
Update or Reinstall Drivers
If your hyperx cloud headset microphone stops working mic drive can sometimes fix audio issues.
| Steps | Windows | macOS |
| Access Device Manager | 1. Right-click on the Start button. 2. Select Device Manager. |
1. Click on the Apple menu. 2. Choose About This Mac. 3. Click on System Report. |
| Locate Audio Input Device | 3. open the section” Audio inputs and outputs” 4. Locate your microphone or headset device. |
4. In the System Information window, select Audio from the sidebar. |
| Update Driver | 5. Click the device name and select Update driver. 6. You can Select Search automatically for updated driver software. 7. Follow the prompts. |
5. macOS updates drivers automatically with system updates. To manually check, go to System Preferences > Software Update. |
| Reinstall Driver | 8. If it doesn’t work, Uninstall the device. 9. Restart the computer, and Windows will reinstall the driver automatically. |
6. Reinstalling drivers in macOS typically involves reinstalling the macOS itself or using Apple Diagnostics for troubleshooting. |
| Check for OS Updates | 10. Click Check for updates and install any available updates. | 7. Go to System Preferences > Software Update to check for and install any available macOS updates. |
| Reboot the Device | 11. After updating or reinstalling, restart your computer to ensure changes take effect. | 8. You can Restart your Mac to apply the updates. |
Check the Mute Button
The mute button may be why most of the microphones are not working. Before playing the game, you will have to check whether the microphone is muted or not.
Look for a physical mute button on your headset. It’s often a small button with a microphone icon. Software mute: Check the audio settings on your computer or any software you’re using (like Discord, Zoom, etc.). There might be a software mute option.
If you can’t find the mute button, don’t waste your time here and move towards the next troubleshooting step.
Restart Your Computer
- Access the start menu: Click the start button on your computer.
- Choose restart: Select the power icon, then choose “Restart.”
Your computer will turn off and then turn back on. This might resolve the microphone issue.
Clears Background Applications: Sometimes, other applications might be using or interfering with your microphone. A restart can close these applications and free up the microphone for use.
Also read: use a mic on Xbox cloud gaming.
Common Causes of a Hyperx Cloud Headset Microphone Not Working

Here are some common reasons why your microphone might not be working:
Hardware Issues:
- Faulty cable: A damaged or loose cable can prevent sound transmission.
- Microphone damage: Physical damage to the microphone itself can cause issues.
- Incorrect connection: Ensure the headset is plugged in correctly to your device.
Software Issues:
- Mute button: Accidentally muted mic? Check your headset and computer settings.
- Audio settings: Incorrect input/output settings can hinder microphone function.
- Driver problems: Outdated or corrupted audio drivers might be the culprit.
Other Factors:
- Physical obstructions: Check if anything is covering or blocking the microphone.
- Software conflicts: Other audio applications might interfere with your headset.
We’ve covered some common solutions to HyperX Cloud Stinger microphone problems. By checking connections, mute settings, audio settings, and updating drivers, you should be able to resolve most issues. Proper maintenance can help ensure your headset continues to perform well.
HyperX Cloud 2 Mic Replacement
Unfortunately, HyperX doesn’t officially sell replacement microphones for the Cloud 2 headset. This means finding an exact replacement can be challenging.
-
Potential Alternatives:
- Third-party options: Some online retailers offer aftermarket replacement microphones that claim compatibility with the HyperX Cloud 2.
- Compatibility: Ensure any replacement microphone is compatible with the Cloud 2’s audio connector.
- Warranty: Modifying your headset might void its warranty.
- Sound quality: Replacement microphones may not match the original’s audio performance.
-
Purchase a Replacement Mic
Look for replacement parts on the HyperX website or through authorized retailers. Ensure you’re purchasing a genuine HyperX replacement part to ensure compatibility and quality.
-
Replace the Mic
Gently remove the old microphone from the headset. It may be attached via a removable connector or socket. Connect the new microphone to the headset. Ensure it’s securely attached and aligned properly.
Also read: fix the Xbox chat mixer.