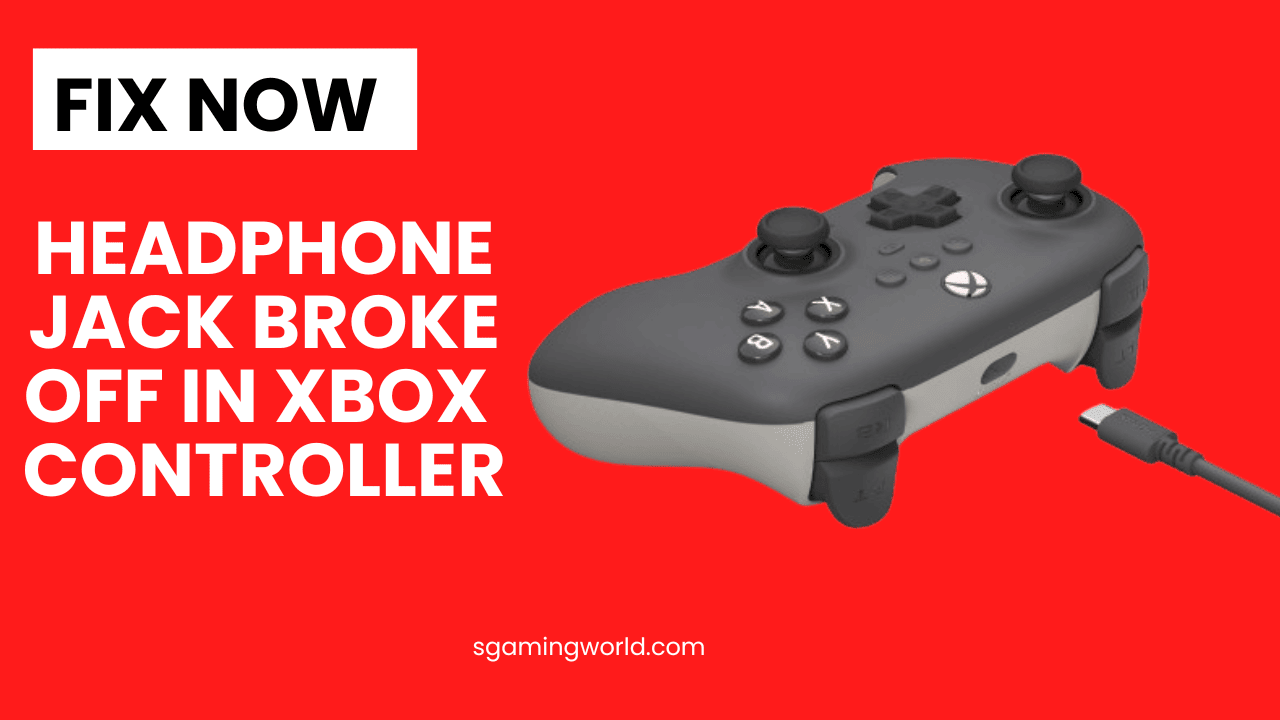
Welcome to my Blog Post. In this blog post, I will reveal the solution to the common problem of headphone controllers. The problem is that the headphone jack is broke off in the Xbox One controller.
Some People Prefer Buying a New Xbox Controller Instead of Fixing a Broken Headphone Jack. After reading this post you will be able to fix your broken headphone jack.

Before moving towards the solution, I would like to tell you that you are not alone in facing this issue but there are many other people too. This is why I am telling the solution to this problem.
Causes of Broke Headphone Jack in Xbox One Controller
I would like to explain some reasons here so that you can know why your headphone jack is not working in Xbox. Keeping all these causes in mind which I am telling you below, then we will see why your headphone jack is broken.
The best reason I found is this brother’s story. Imagine your pet can also cause the headphone jack to break.

- Sometimes we accidentally bend the headphone jack while playing or running around. Due to force applied on the headphone jack, it breaks inside the controller.
- Plugging and unplugging the headphone jack daily also causes wear and tear inside the Xbox controller. The metal inside the jack can become loose and break.
- Some users twist the jack so much while plugging in that it breaks due to pulling.
- Low-quality headphones with fragile connectors to which even a little force can cause the jack to break.
Step-by-Step Guide to Fixing the Broken Jack
You don’t need to worry if your Xbox controller’s headphone jack is broken. Fixing this is easier than you think. If you know why your jack is broken, then we move towards its solution. I am telling you some steps here, follow them properly. And I am sure that after following these steps you can remove your headphone jack from the controller.
Step 1: Power Off the Controller
The first step you have to follow is to disassemble the controller. First, unplug the headphones and turn off your Xbox One controller. This will keep you safe from any kind of electrical accident. And if you have a wireless Xbox One controller, then its battery should be removed. Then try to gently pull out the headphone jack from the controller port. Make sure the headphone connector is firmly in place when pulling the cable out.
Step 2: Inspect the Damage
It is important to inspect for damage before removing the headphones. Use a flashlight to look for broken Pieces of headphone jack. Using a flashlight, you can carefully inspect the controller port to see where any pieces are stuck.
Step 3: Attempt to Remove the Jack
Removing the broken headphone jack from your Xbox One controller can be done using a few different methods. Here a detailed instructions on how to remove it:
Method 1: Using Tweezers
First of all, use such tweezers that can fit well in your headphone port. Try to take out the broken pieces of the jack by inserting tweezers inside the controller port. Be patient with the broken pieces as they come out. Because applying too much force can cause broken Pieces to go further inward. The controller port may also be damaged.
Method 2: Using a Paperclip
If you do not have the tweezers then you can use a paper clip. Regular paper clips are easily available to everyone. A Simple Way to Fix a Broken Headphone Jack on an Xbox One Controller by Using a Paper Clip. What an amazing thing this is!
Take a regular paper clip, straighten it, then make a hook on the end of this paper clip. This hook will help pull the broken pieces out from inside the controller port. Make the hook small enough to fit easily into the controller port. Insert the paper clip into the controller port and move it carefully to catch the broken Pieces. When you catch hold, take them out one by one. Isn’t it an amazing way? of course yes!
Method 3: Using Super Glue

A great way to get a broken headphone jack out of an Xbox One controller is to use super glue. And I like this very much. For this, it is only necessary that you should know how to use glue properly. So follow the steps given below to apply this effective method.
- Use a thin stick or toothpick that can easily fit into your Controller port.
- On the end of the stick put a little super glue. Be careful, don’t use too much glue. If you apply too much glue on the stick, it may go inside the controller port and damage its internal parts.
- Insert the glued stick into the controller port and touch it to the broken piece of the jack. And make sure that the stick is touching the broken pieces.
- Press the stick against the broken pieces of the jack for a few minutes so that it sticks tightly to the glue. When the stick firmly sticks to the broken piece, then slowly take the stick out of the controller port. And with this, the broken pieces will also come out.
Reassembling and Testing the Controller
After successfully removing the broken headphone jack, it’s time to reassemble and test your Xbox One controller to ensure it’s working properly.
Now reassemble the part of your headphone controller that you had separated properly. And easily tighten it with the help of a screwdriver. If you have disturbed any wires etc. Then connect them also.
Test the Audio:
Now turn on your Xbox controller and insert headphones into the headphone port. Make sure the sound is good and play some audio to check it.
Check the Mic (if applicable):
If your headphones have a built-in microphone, test it by speaking into the mic and checking if your voice is picked up in the game or chat.
Try a Different Headset:
Carefully check the button function and other important things of the controller. Are all these things being reduced properly or not? If every function is fine then Congratulations you have fixed your Controller. It would be good to test it by Connecting different headphones to the controller port.
Conclusion
In this post we have Explains How You Can Get the Broken Pieces Out of a Controller Using Paper Clips Super Glue and Tweezers. Apart from this, it also mentions several reasons why your headphone jack gets broken and gets stuck in the controller.
Fixing the headphone jack may seem difficult at first, but if you just do one thing, you will be able to restore your devices. So if you have fixed both the headphones and the controller by following the steps mentioned in this article, then now enjoy your gaming sessions.


Having read this I thought it was very informative. I appreciate you taking the time and energy to put this article together. I once again find myself personally spending way too much time both reading and commenting. But so what, it was still worth it.
I seriously love your site.. Pleasant colors & theme. Did you develop this site yourself? Please reply back as I’m planning to create my own site and want to learn where you got this from or just what the theme is named. Thanks.
Aw, this was a really nice post. Taking a few minutes and actual effort to produce a top notch article… but what can I say… I procrastinate a lot and don’t manage to get nearly anything done.
I couldn’t resist commenting. Well written.
Good blog you have here.. It’s difficult to find good quality writing like yours nowadays. I seriously appreciate people like you! Take care!!
It’s hard to find educated people on this subject, however, you seem like you know what you’re talking about! Thanks
Excellent write-up. I definitely appreciate this website. Thanks!