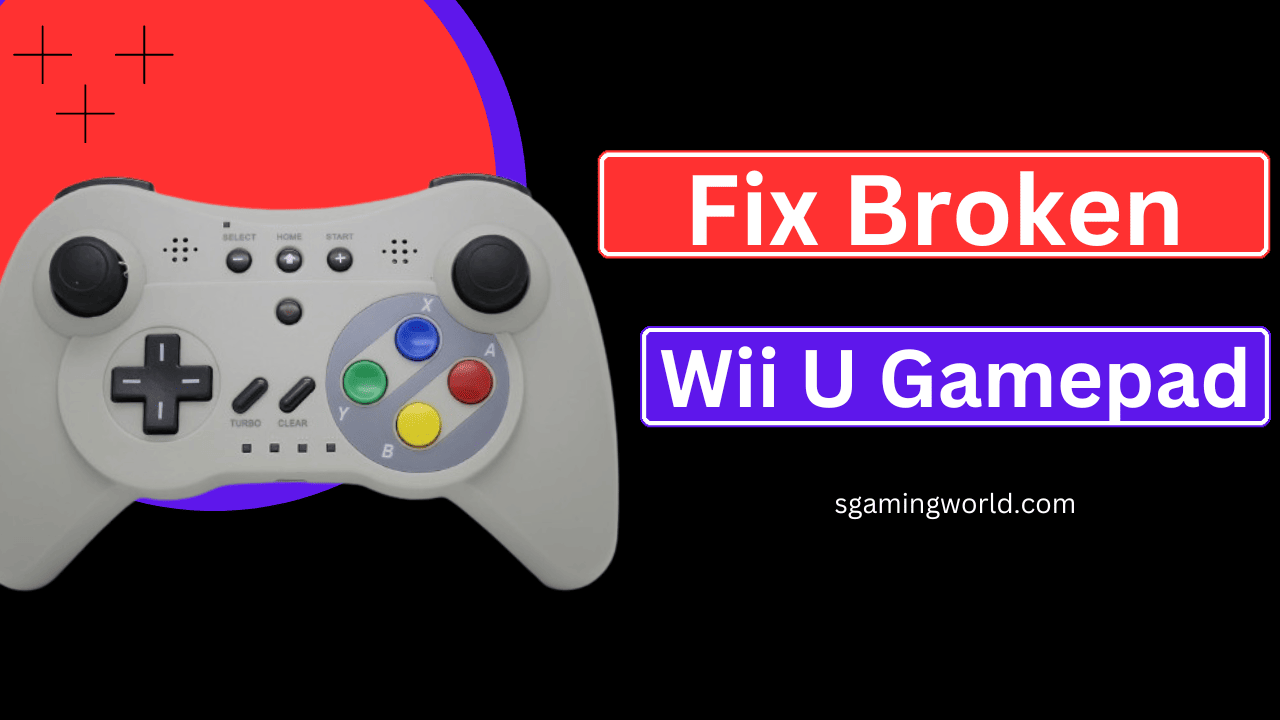
Before fixing the broken Wii U GamePad, let’s take a look at some interesting information about it. The Wii U GamePad was a progressive invention that gave us a new way of playing games. This was released in 2012 by Nintendo. This revolutionary device with its unique designs, touchpad, and controllers introduces a new level of interaction to the gaming world.
This device offered a new gaming experience that was full of fun and frustrating at the same time. This touch gamepad provided a glimpse that almost blurred the line between console and handheld gaming. One of its most useful features is that you can play games on it using its touch screen even without a TV. This feature provides the convenience of playing games in various rooms or areas, especially when multiple people share a single TV.
This post will help you properly manage and fix the issues of a broken gamepad in the easiest ways. Fixing a broken Wii U gamepad is possible and very easy. Before explaining the troubleshooting steps, let’s be aware of some common causes that may damage your gamepad. By knowing these causes, you will be able to resolve the issues you are facing.
Reasons of Damage to Fix Broken Wii U Gamepad
Here are some things that cause the damage of Wii U gamepad:
- Suddenly mishandling of pad from your hand causes damage to its parts. Its touch screen may have scratches. This device has large parts (like analog sticks and motion controllers) that make up the possibility of hardware damage when it falls accidentally from your hand.
- Using the gamepad continuously for a long time decreases its efficiency. Applying force many times on its parts wears down its casing and controllers.
- Plugging the charger in again and again degrades the battery, which may result in the melting of internal parts or even a blast. Incompatible chargers also decrease the battery life and make it dead.
- While playing excitedly, you may accidentally break some parts by moving your body during a sudden turn in the game. It results in damage to its handles.
Troubleshooting to Fix Broken Wii U Gamepad

Repairing a gamepad is not only easy but also saves you money and reduces electronic waste. You will get new experience and confidence to learn how to fix a broken Wii U gamepad. You will get proper guidance from the following information.
-
Power cycle issues:
The battery issues can resolved using two reset methods:
- Soft reset
- Hard reset
For a soft reset, you have to power off your gamepad by pressing the power button on the console. Press the button until the console of the gamepad is off. Restart the pad by pressing the power button again. Your pad will restart without deleting or disturbing your saved data.
If you have tried other troubleshooting steps and getting no response, you have to go for a hard reset. Hard reset is very comprehensive as it will erase your all saved data.
Get the restart of the gamepad. The gamepad will recover and show the menu with the following options:
- Restore Factory System
- Update System Software
- Format Memory
Click the “Restore Factory Settings” option using the control sticks and press the “A” button. Then, confirm the restart by selecting “Yes” and pressing the “A” button. After completing this process, the gamepad will reset its original settings, erasing all saved data and apps. Remember to perform a hard reset only when you are experiencing severe issues with your gamepad.
-
Connectivity Problems:
Sometimes connectivity issues result in the not working of the gamepad. Clean the ports and plug properly all the cords. Check the charger and gamepad versions. Repeatedly plugging and unplugging the cords can damage the ports, so handle them with care. Plug in and out the charger carefully.
Also read: charge the Wii U GamePad
-
Control issues:
Sticky buttons or broken control sticks break your control on the gamepad. Below is a brief explanation of how to repair sticky buttons.
Use cotton or a small piece of soft cloth to wipe away dust from sticky buttons. Take the earsticks, dip them in the alcohol, and rub gently on the sticky buttons. Alcohol takes the germ away. Spray the canned air near the buttons to clean the dust. Use dry cotton to clean the moisture around the buttons.
-
Physical damage repair:
Cracks or glitches on the touchscreen are repaired very carefully and with proper tools. Firstly power off the gamepad completely. Remove all the screws and lids that cover the screen. Remove the bezel from the screen carefully. Place the bezel in a careful and proper place away from gadgets so that the bezel has no damage.
Locate the LCD, digitizer, and backlight and disconnect these parts with the help of a plastic spudger. Remove the broken screen gently. Clean the screen frame properly. Ensure the frame is dry.
Install and align the new screen with your gamepad. Reconnect the screen connectors. Reassemble the gamepad. Reinsert screws and lids. Now your gamepad has been fixed. You did it by yourself. Enjoy your gaming once again.
Safety Precautions
While you are repairing your gamepad you should take care of the safety precautions given below.
- Make sure that your gamepad is completely powered off.
- Use anti-static electronics because static electricity causes damage to the circuit.
- Be very careful and gentle while repairing the touch screen because it is very delicate.
- Wear proper plastic gloves and eyewear to avoid any injury.
- Don’t apply too much pressure while cleaning the buttons or other fragile parts.
- You should be mentally active and sharp to handle small delicate parts and use proper tools.
- Be conscious of chemicals used during repair and have proper ventilation.
- Don’t use any damaged wire and avoid touching the wire carelessly.
- Take care that you are following all the instructions as it is.
- If you are unwilling to repair it by DIY go to a mechanic.
Conclusion
In this post, you have almost learned how to fix a broken Wii U gamepad with proper guidance. You can have your gamepad rerun by following the troubleshooting steps. Remember to regularly clean and maintain your gamepad to prevent issues. If you like adventures keep upgrading or modifying your gamepad to give it a new look.
Repairing your gamepad by yourself gave you confidence in your ability to take challenges. Don’t stop exploring and learning and push yourself towards the progress.
This will provide you with a first level to unlock your DIY (Did It Yourself) potential. This help will assist you to enjoy your game without any hesitation and loss of money in buying a new gamepad.
GOOD LUCK


