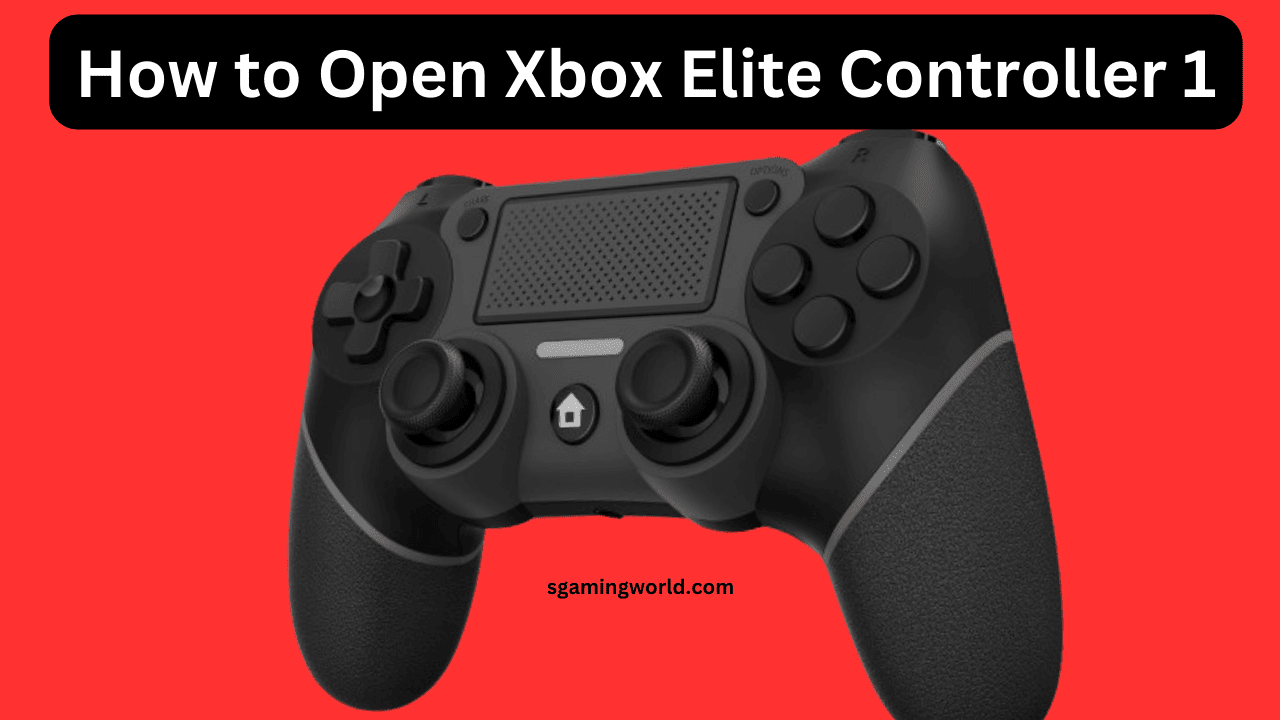
Welcome to my blog post! This post is all about how to open the Xbox Elite Controller 1. The Xbox Elite Controller 1 is a premium gamepad. It is designed for a series of gamers who want to enhance their experience and customization. Its features include adjustable thumbsticks, interchangeable paddles, and a robust build. These features offer a superior gaming experience. These features are absent in standard controllers.

Like other electronic devices, sometimes problems arise in it also. Despite such superior features of the Xbox Elite controller, if you have to open it, it must be a big problem. Some users open it to fix unresponsive buttons, address connectivity issues, or replace a dead battery. Now you will know better why you need to open the Xbox Elite Controller 1.
Here is a detailed guide about how to open the Xbox Elite Controller 1
You need some basic material
- Screwdriver
- Plastic Prying Tool
- Tweezers
- Spudger
- Magnetic Mat or Tray
Removing the Back Grips to open the Xbox Elite Controller 1
The back grips of the controller are separate parts and can be removed easily without any effort. The back grips of the controller can be removed for cleaning, replacement, and customization.

Careful Pray at the Corner of a Back Grip with Your Finger Nail. Remove the back grips from the back of the controller once there is a slight gap in the back group. If the backgrips can not be easily removed with a fingernail, You can also use a plastic pry tool to remove them from the controller.
Unscrewing the Controller
After removing the back grips, now you need to unscrew the controller to access its internal components. There are five Secrews on the controller. It is very important to remove these five screws to see the internal components of the controller.

Separating the Controller Halves
After unscrewing the back screws of your Xbox Elite Controller 1, the next step is to carefully separate the controller halves. Firstly, Insert a plastic prying tool between the two halves of the controller.
Start from one edge of the controller And slowly bring down the whole halves. Don’t apply too much force on it, it can break.

Take care of the ribbon cables while separating the controller halves. Ribbon cables are flat and flexible and consist of small colored wires.

It is connected to the circuit board through a plastic connector. To separate all these cables from the connector halves.
Accessing the Internal Components
After successfully separating the halves of your elite controller, you can now access its internal components.
Here you can see the internal components:
- Battery Compartment
- Circuit Board
- Button Mechanisms
- Triggers and Paddles
- Vibration Motors
When you access the internal component of the controller then you can easily replace and repair these components. The Common repairs might involve replacing faulty buttons, thumbsticks, or the backplate.

You can also customize your controller. Some people add color buttons and thumbsticks to their controllers to give them a good look. You can also add these components.
Common Issues and Solutions
When disassembling and reassembling your Controller , you may face some common issues.
1. Sticky Buttons
Sometimes buttons may become sticky or unresponsive
Solution:
You can use a soft brush or compressed air to remove debris from around the buttons. Dampen a cotton swab with isopropyl alcohol (70% or higher) to clean the button.
2. The controller Not Turning On
Issue: The controller fails to power up even after reassembly.
Solution:
- Check the battery pack is properly connected. If you are using rechargeable batteries, check for charging.
- Check for any disconnected wires inside the controller.3.
3. Buttons Not Registering Inputs
Issue: Buttons may not register inputs correctly, affecting performance.
Solution:
- Check for any dirt or residue on the button contacts and clean as described earlier.
- Verify all internal components are correctly aligned during reassembly.
- Ensure the controller’s firmware is up-to-date by checking the Xbox Accessories app.
Final Thoughts
FAQs
How do I remove the thumbsticks from the controller?
Answer: Gently pull the thumbstick upward from its base. Be careful to pull the thumbstick. Use a plastic prying tool to lift it. Don’t apply too much force it can damage your controller thumbstick.
Where are the screws located in the Xbox Elite Controller 1?
Answer: The screws are typically located:
- Around the edges of the controller shell
- Under the rubber grips or stickers (if applicable)
- Inside the battery compartment
What should I do if I can’t reassemble the controller properly?
Answer: If you encounter difficulties reassembling the controller. Double-check that all components are aligned correctly and that no screws or parts are missing. Refer to the disassembly steps to ensure everything is put back in the correct order. If problems persist, consult repair guides or seek professional assistance.
What should I do if the controller still doesn’t work after reassembly?
Answer: If the controller does not function properly after reassembly. Check internal connections are secure and no parts were damaged during the process. Test the controller with different devices to rule out compatibility issues. If problems continue, consider contacting Xbox Support or a professional repair service.
How can I prevent future issues with my Xbox Elite Controller 1?
Answer: To prevent future issues:
- Keep clean the controller.
- Don’t keep it in extreme temperatures or moisture.
- Store it in a protective case.